Happy New Year!! Welcome 2012!!
StudioTO its truly grateful for all your support and want you to keep with us on this new year, so to start we want to show you this DIY tutorial , its a kawaii handmade sketchbook, really simple to follow, hope you guys like it.
To do this kawaii sketchbook you'll need the follow materials;
1.Fabrics 2.Craft Ribbons 3.Card stock 4.Glue 5.Sewing Needle 6.Ruler
7.A4 Paper Sheet 8.Scissor 9. Craft Knife
First you measure the size you want for your sheets.
After measured, you cut it.
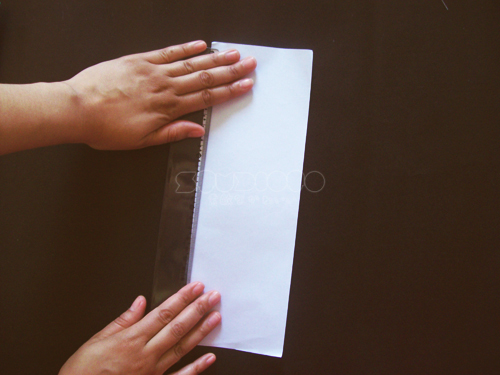
This is how the paper sheet looks after you cut.

Then you connect the sheets endings to see if they are even.
Making sure that they are even, you'll fold it.
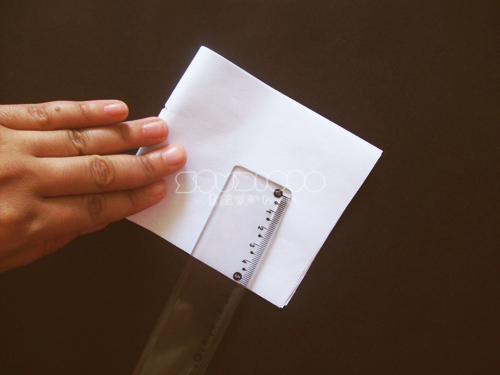
To help fold it right,use the ruler. This is how your sketchbook sheets will look like.
Repeat the same cutting process with the card stock (sketchbook cover) and chosen fabric sketchbook (cover decoration)

its really simple to do the decoration of your sketchbook cover
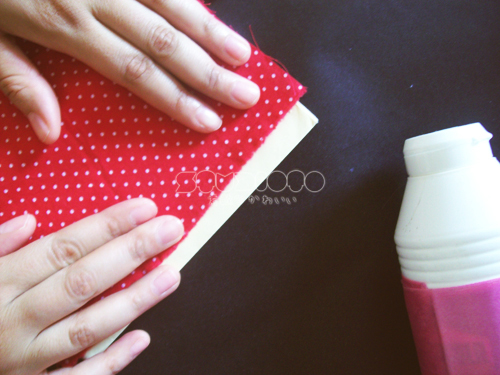
take your fabric and glue on the card stock


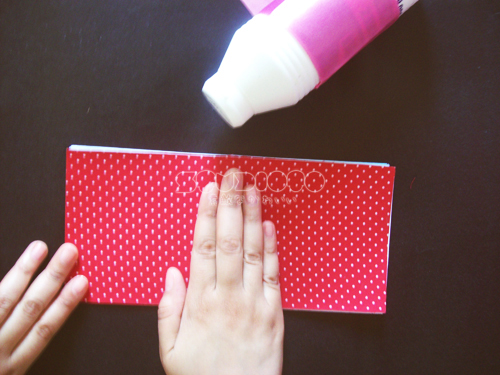
This is how the finish cover will look like

Next step, put together all the sheets and the cover, make three dots in the center, use the needle to pierce the papers making three holes (you can use scissor or a piercing tool to do it too)
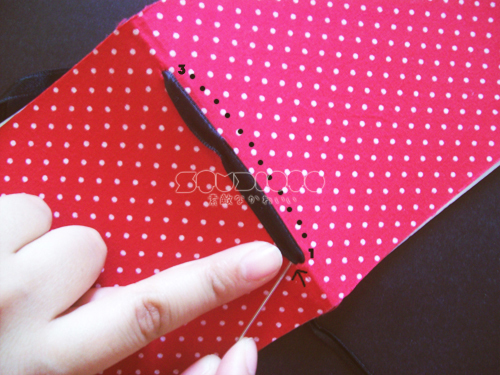
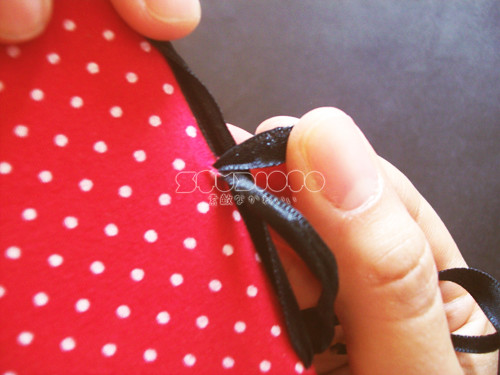
Now you take the ribbon and put in the 3º and 1º holes
This is how will look outside the book

and this is how it will look inside, here you can see, the second hole
its to be purposely forgotten

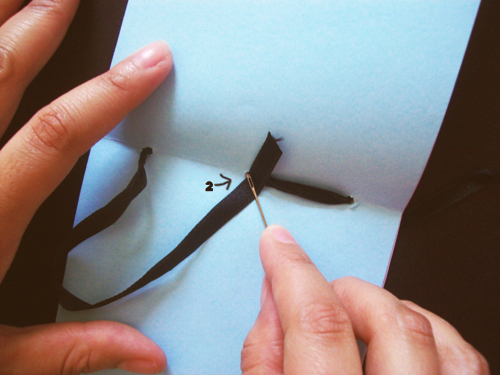
now you'll need the needle to do this
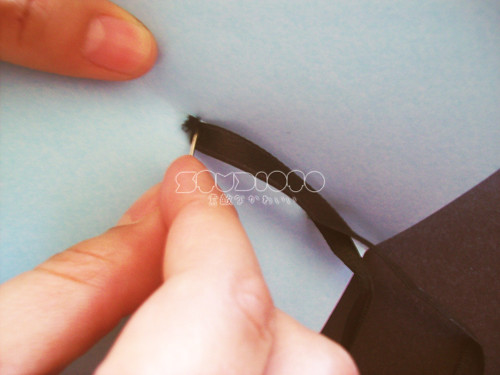
use the needle just to help you push the ribbon inside the 2º hole
push and this is how the outside will look like

and how it looks inside
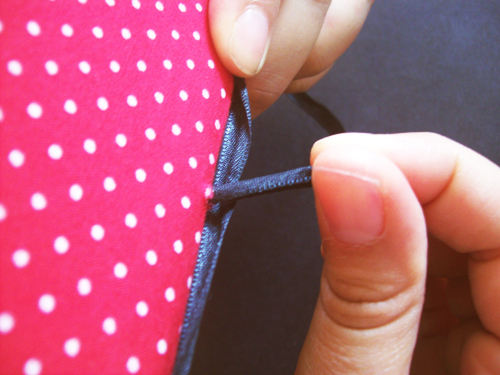
repeat the same process with the left ribbon ending.

And this how it will look like with the two endings on the outside
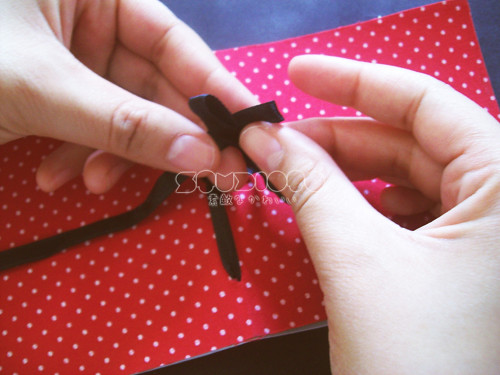

tie the ribbon


a zoom up close
and then you're DONE!
you can make any size you want and use any craft paper to do decoration cover and other fabrics.
or other kinds of paper to do your sheets...it's so good doing it , you can be creative and have so much fun.
so this is it, 'til the next post